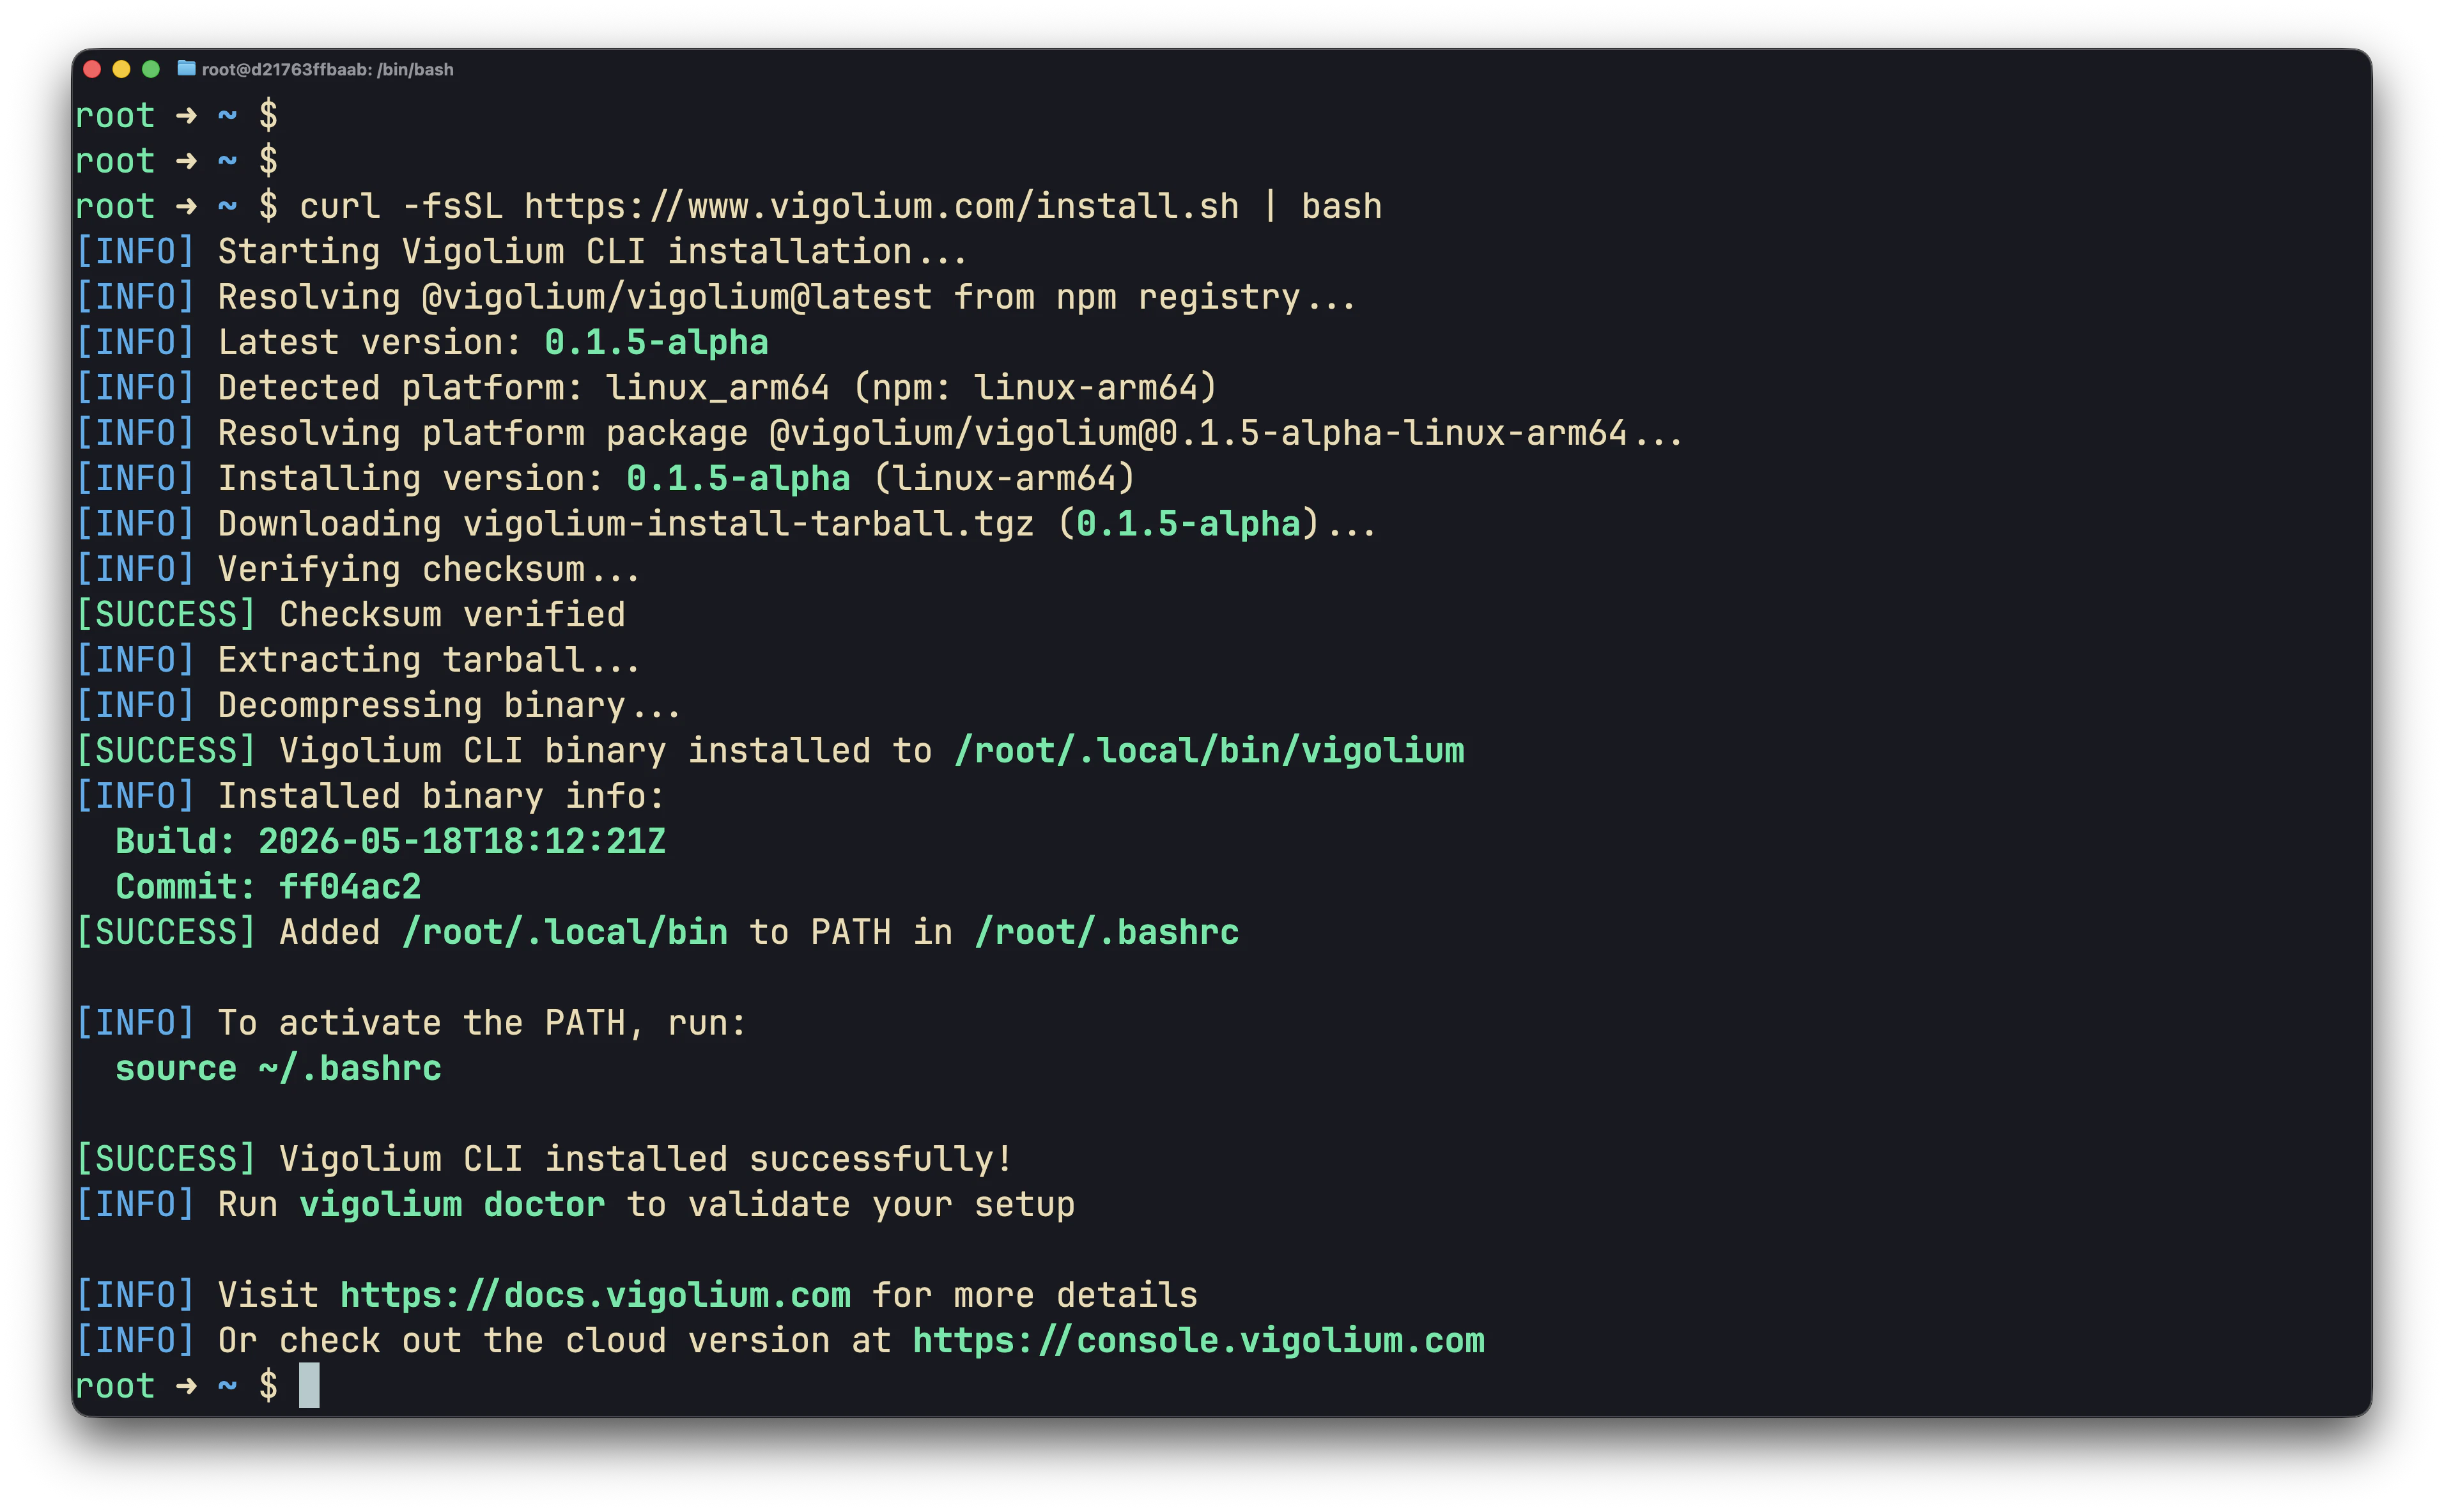
Step 1: Install Vigolium Open Source
- Native Installation (Recommended)
- npm
- Bun
- Homebrew
- Docker
- Build from Source
- Windows
~/.local/bin/vigolium and adds it to your shell profile. The installer verifies the SHA-256 checksum before installing.~/.local/bin was not already on your PATH, activate it without restarting your shell:
Step 2: Validate the installation
doctor reports any missing optional dependencies (a browser for SPA spidering, nuclei templates for the known-issue scan, bun/pi for agent drivers) and confirms your config is valid. Let it auto-install anything missing:
--only accepts any of: nuclei, chrome, bun, claude, agent-browser, pi, piolium.
Everything Vigolium stores lives under
~/.vigolium/ (override with VIGOLIUM_HOME): config at vigolium-configs.yaml, scan DB at database-vgnm.sqlite, agent artifacts under agent-sessions/. Run vigolium init to create the workspace explicitly.Step 3: Run a full scan
vigolium scan runs the full multi-phase pipeline (discovery → spidering → dynamic-assessment) using the balanced strategy by default:
--intensity quick|balanced|deep is a higher-level alias that also tunes the scanning profile. Not sure which mode to use? See Choosing a Scan Mode.
Step 4: One-shot stateless scan
For CI/CD pipelines, scripting, or quick ad-hoc checks where you don’t want anything left behind on disk, add--stateless and export results with -o. Vigolium spins up a temporary SQLite database, runs the requested phases, writes the output, then deletes the database on exit.
--stateless and --db are mutually exclusive. See Native Scan & Stateless Scanning for the full recipe book.
Step 5: Choose what to scan
-I): urls, openapi, swagger, postman, curl, burpxml, nuclei, har.
Step 6: Pick specific modules (optional)
Step 7: Get results out
By default findings stream to the console. For files or machine-readable output, use--format with -o:
| Flag | Effect |
|---|---|
--format console | Human-readable terminal output (default) |
--format jsonl / -j | One JSON object per line |
--format html | Interactive ag-grid report (requires -o) |
-o, --output | Output file path (base name; extension added per format) |
--ci-output-format | JSONL only, no banners or color, ideal for CI |
--silent | Suppress everything except findings |
Step 8: Run a single phase
Userun <phase> (an alias for scan --only <phase>) when you only want one stage of the pipeline:
ingestion, discovery, external-harvest, spidering, known-issue-scan, dynamic-assessment, extension.
A note on persistence
vigolium scan writes results to a persistent SQLite database at ~/.vigolium/database-vgnm.sqlite, so you can browse them afterward:
--stateless and export with -o. See Native Scan & Stateless Scanning for the full set of recipes.
Updating & uninstalling
brew upgrade vigolium / npm update -g @vigolium/vigolium / docker pull), not vigolium update.
Next steps
- Choosing a Scan Mode, pick the right mode for your job.
- Native Scan & Stateless Scanning, CLI scan recipes.
- Scanning Strategies, strategies, profiles, pace.
- Authenticated Scanning, sessions and login flows.
- Setting Up the Agent, AI-driven autopilot and swarm scans.
- Configuration Reference, full configuration options.